The first time you open Unitra, a short setup walks you from a blank app to live translated subtitles. This guide follows that setup screen by screen, and explains the one choice that matters most: which language is yours and which is theirs.
The screenshots and the video are from Unitra AI Desktop 0.13.1 on Windows. The whole setup takes about two minutes.
Prefer to watch? Here is the same setup as a video:
1. Choose the display language
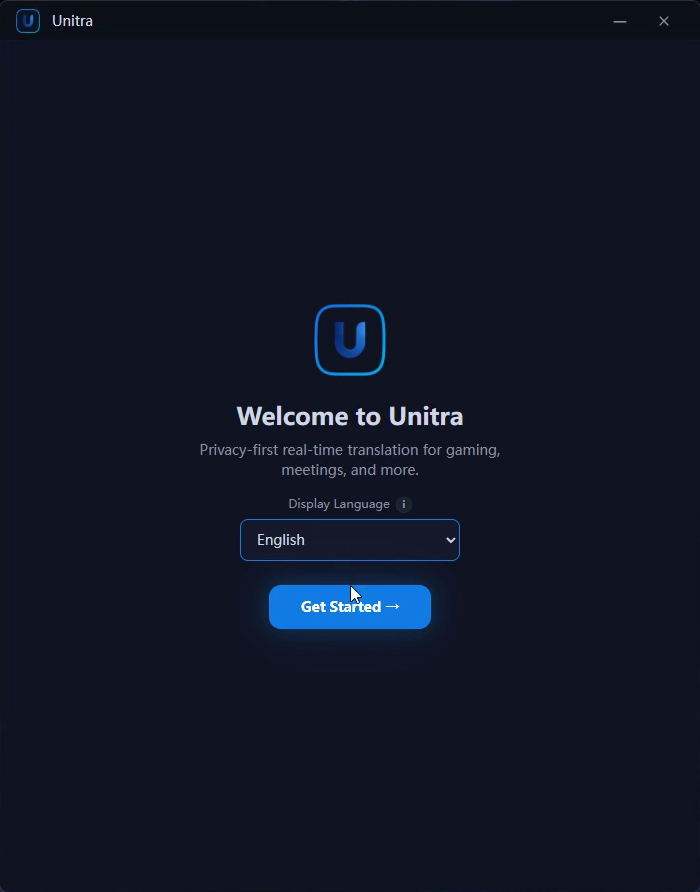
Pick the language you want the app in under Display Language, then click Get Started. Unitra suggests your system language, and it also becomes the language your translations are shown in. You can change both later.
2. Sign in
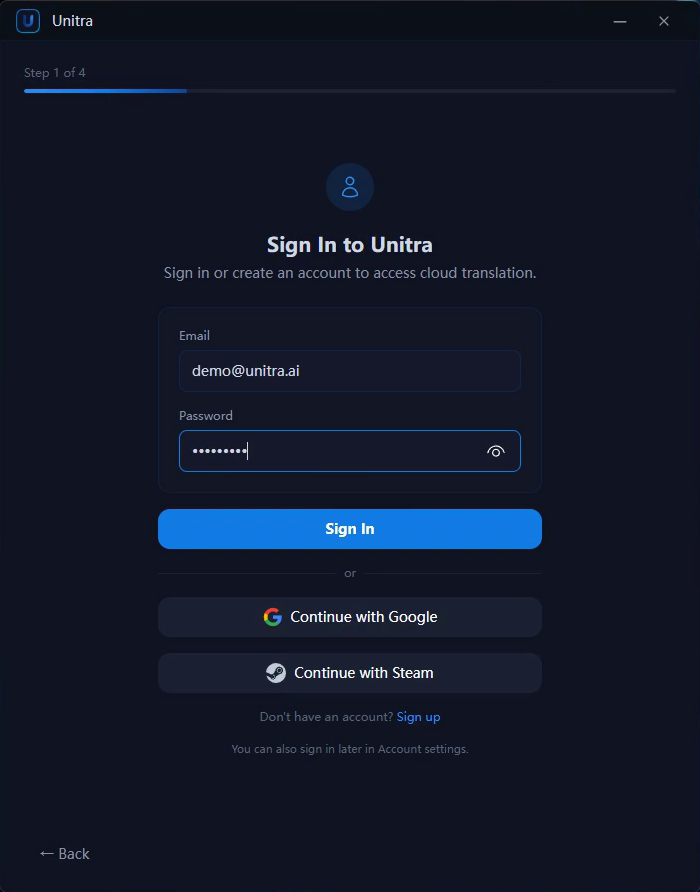
Sign in with your Unitra account, or use Continue with Google or Continue with Steam. If you do not have an account yet, Sign up under the form opens the sign-up page in your browser. Translation runs through your account, so this step comes before everything else.
3. Set your languages
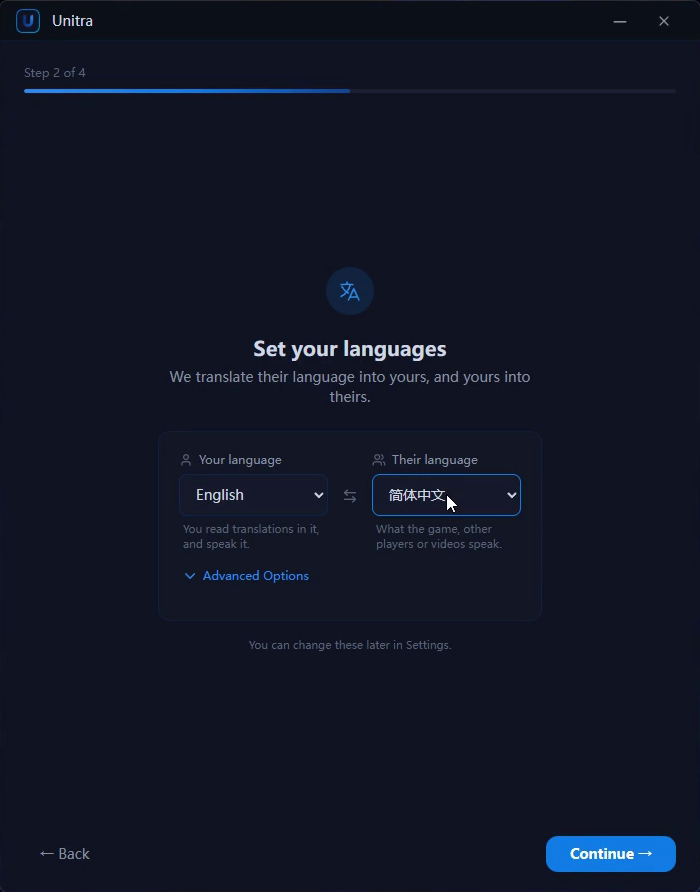
This is the important step. Your language on the left is the one you speak and the one you read translations in. Their language on the right is what your teammates, the other players or the game speak. Unitra translates their speech into your language, and with conversation mode on, your speech into theirs.
If you set them the wrong way round, the arrow between the two swaps them. Continue stays grey while both are the same language, because there would be nothing to translate.
4. Help improve Unitra, or skip it
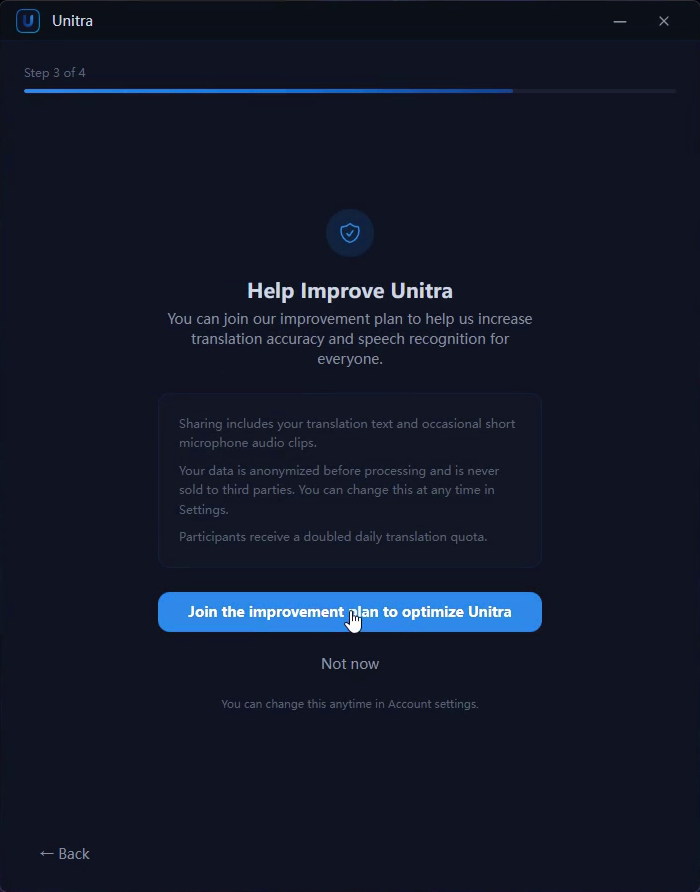
The improvement plan shares your translation text and occasional short microphone clips to make recognition and translation more accurate. Participants get a doubled daily translation quota. It is optional: Not now skips it, and you can change your mind any time in the account settings.
Outside the Steam version, a plan page may follow. Continue on Free is enough to finish this guide.
5. Open the dashboard
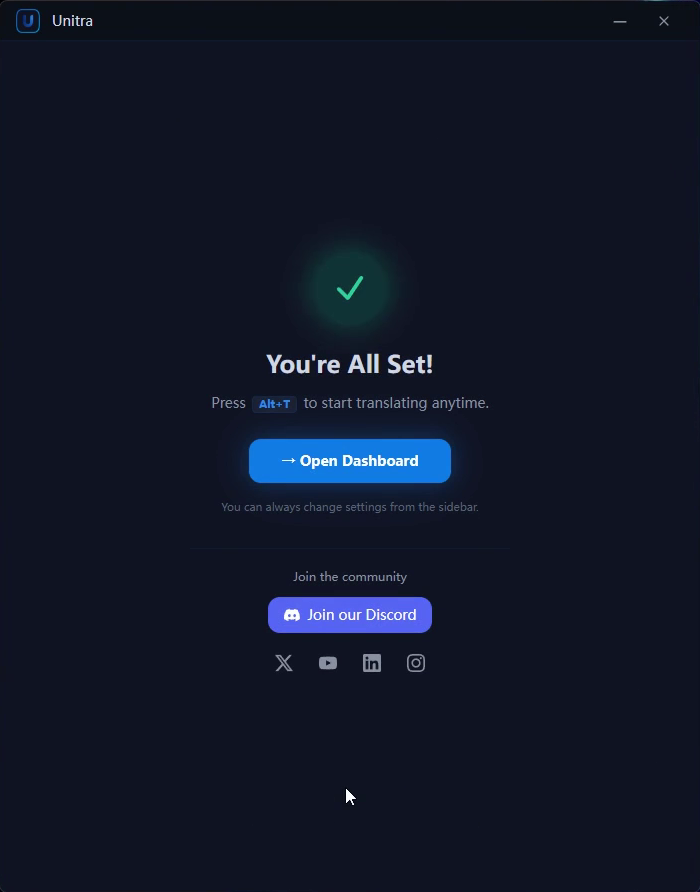
Setup is done. Click Open Dashboard. From now on, Alt+T starts and stops translation from anywhere, even while a game has focus.
6. Start translating
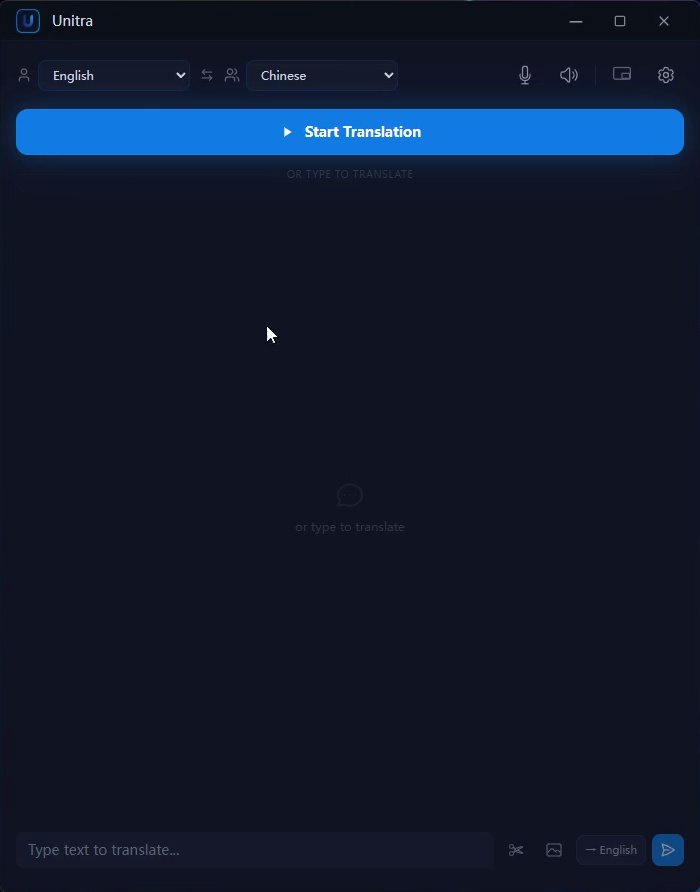
The two languages you picked are at the top of the main window, so you can check them before you start. Click Start Translation.
7. Read the subtitles
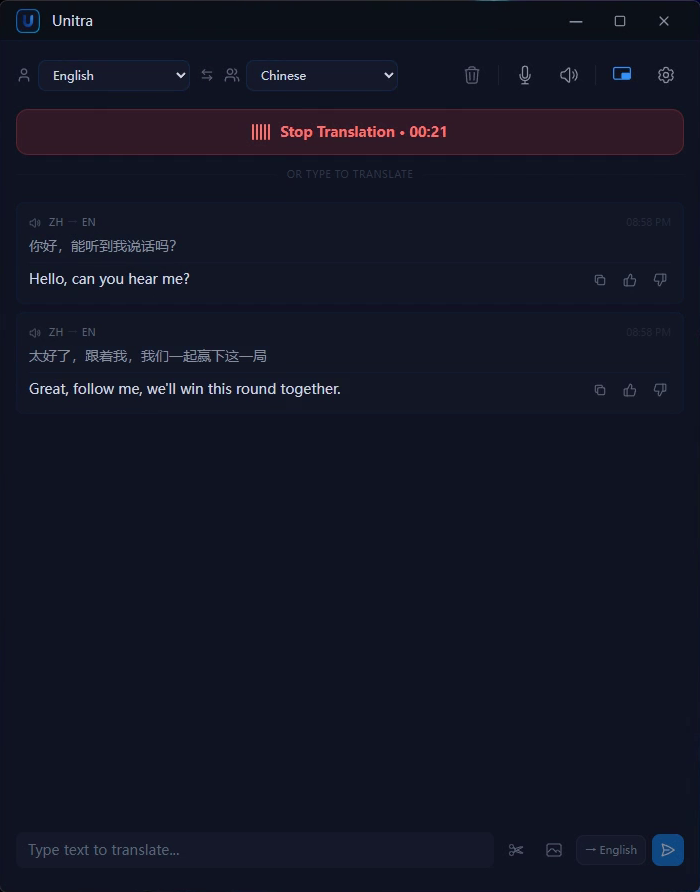
Unitra now listens to what your PC plays, such as game audio and voice chat, and to your microphone. When someone speaks, the original line and its translation appear in the main window.
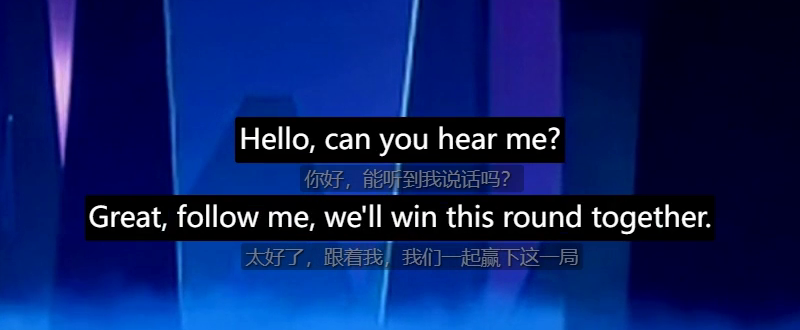
They also appear in the floating overlay that sits on top of your game. Drag it wherever it does not cover your HUD. Font size, opacity and layout are in Settings > Overlay.
If something looks off
- Continue is grey on the language step. Both pickers show the same language. Set Their language to the language the other side speaks.
- Nothing appears after Start Translation. Make sure the sound actually plays on this PC, and that the microphone button in the toolbar is not muted. The first line after starting can take a few seconds while the speech model loads.
- The wrong language gets translated. Change Their language at the top of the main window.
If something does not work as expected, let us know in Discord.